

Accessible bathroom design requires careful attention to fixture dimensions, clear floor space, controls, and installation details. For architects, contractors, facility managers, and property owners, sink selection should be considered early in the building process rather than treated as a finishing decision.
When specifying ADA Compliant Bathroom Sinks, project teams need to evaluate both the sink itself and the surrounding environment. The fixture, countertop, plumbing, faucet, and approach space must work together to support accessibility and comply with applicable requirements.
Understanding ADA Requirements for Bathroom Sinks
The 2010 ADA Standards for Accessible Design establish requirements for accessible lavatories and sinks in covered facilities. These provisions address factors such as height, knee clearance, floor space, faucet operation, and protection of plumbing.
However, ADA compliance is not determined by a product label alone. The final installation must meet the relevant requirements, and other federal, state, or local building and plumbing codes may also apply.
For a building project, accessibility requirements should therefore be reviewed during planning and documented in the construction specifications.
Sink Height and Countertop Dimensions
One of the most important considerations is the height of the sink or countertop. Under the ADA Standards, the front of an accessible lavatory or counter generally cannot be higher than 34 inches above the finished floor.
The height should be measured carefully after considering the finished floor and the actual installation configuration. Small dimensional changes during construction can affect whether the completed fixture meets the intended specification.
Design teams should verify dimensions from approved product documentation before finalizing drawings.
Knee and Toe Clearance
Accessible sinks need sufficient open space underneath to allow a person using a wheelchair to approach the basin from the front.
The applicable ADA provisions generally require at least 27 inches of vertical knee clearance beneath the front edge of the lavatory or counter. Additional requirements address the depth and width of the available knee and toe space.
Cabinets, storage shelves, supports, and plumbing should not unnecessarily reduce this clearance.
Clear Floor Space and Approach
The space around the sink is just as important as the fixture dimensions. An accessible lavatory generally requires a clear floor space of at least 30 by 48 inches for a forward approach.
This area needs to remain accessible and should connect to an accessible route. Designers should account for nearby doors, partitions, toilets, grab bars, trash receptacles, and other fixtures when determining the usable approach area.
A compliant sink can become difficult to use if surrounding elements obstruct the required maneuvering space.
Faucet and Control Requirements
Faucet controls should be selected with ease of operation in mind. Under the ADA Standards, operable parts generally need to be usable with one hand without tight grasping, pinching, or twisting of the wrist.
Lever handles, push controls, and certain sensor-operated faucets may be appropriate depending on the project and product specifications.
The faucet should also be positioned so users can reach and operate it comfortably. Designers should verify the specific reach and operating requirements that apply to the installation.
Protection of Exposed Plumbing
Accessible sinks can have exposed plumbing beneath the basin because of the need for knee and toe clearance. This plumbing must be addressed as part of the accessibility design.
Hot water and drainpipes beneath accessible lavatories should be insulated or otherwise configured to prevent contact and potential injury. Protective measures should not create new obstacles or significantly reduce the required clearance.
Plumbing protection should be incorporated into construction details rather than added as an afterthought.
Choosing an Appropriate Sink Configuration
Different sink configurations can be incorporated into accessible building projects, provided the completed installation satisfies applicable requirements.
Wall-Mounted Sinks
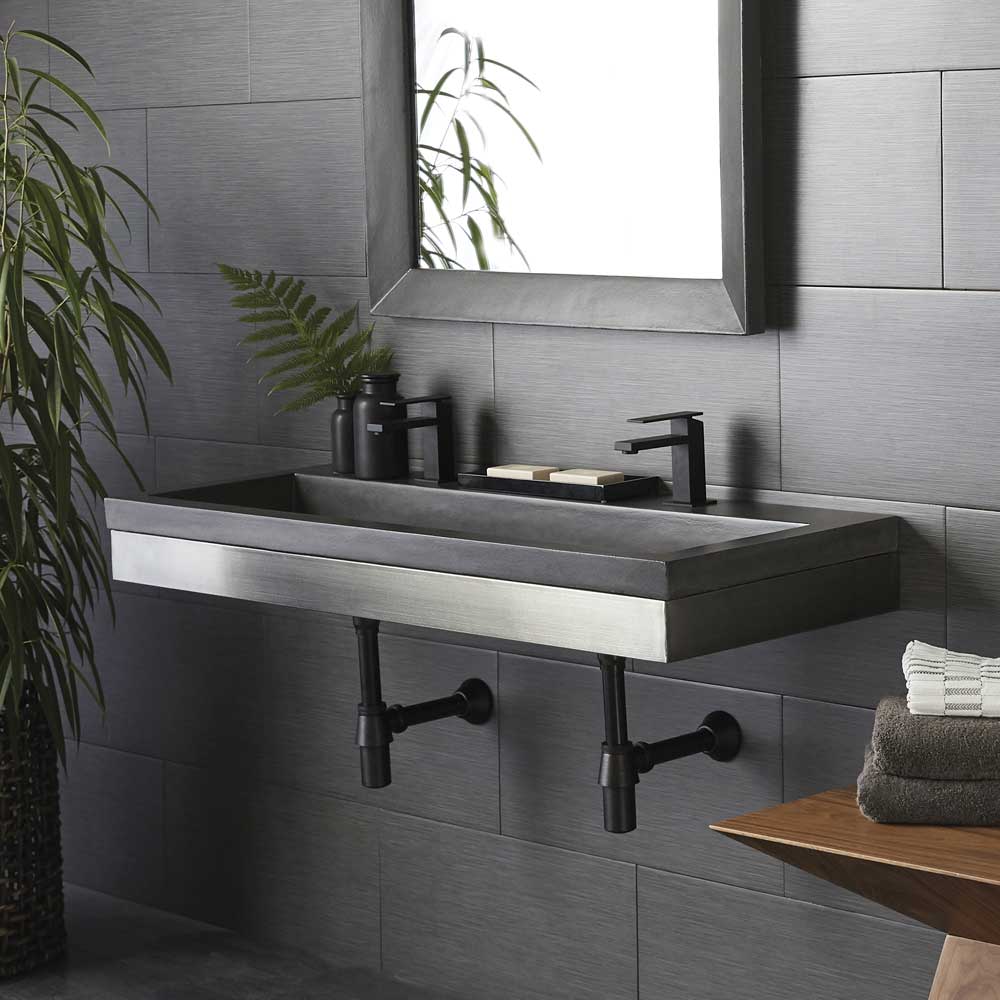
Wall-mounted sinks can provide open space underneath the basin and may work well in compact bathrooms. The wall structure and mounting system must be capable of supporting the fixture securely.
Countertop Sinks
Countertop or integrated sink designs can provide additional surface area and coordinate with a broader vanity design. The supporting countertop or vanity must be configured to preserve the necessary knee and toe clearance.
Integrated Sink Systems
An integrated sink and countertop can create a continuous surface with fewer seams. These systems can be useful where easy cleaning and a streamlined appearance are project priorities.
Regardless of configuration, the actual dimensions and installation details should be verified against the applicable accessibility requirements.
Material and Durability Considerations
Material selection should reflect the intended environment. Residential bathrooms may prioritize appearance and ease of maintenance, while healthcare facilities, hotels, and public buildings may require greater resistance to frequent use and cleaning.
Smooth, nonporous surfaces can simplify routine maintenance. Durable materials can also help reduce damage from repeated use.
The sink material should be evaluated alongside the countertop, mounting method, plumbing, and cleaning requirements rather than selected independently.
Planning for Construction and Installation
Accessibility is easier to achieve when requirements are included in the project documents from the beginning. Architects and contractors should coordinate sink dimensions with architectural plans, plumbing drawings, millwork, and finished floor elevations.
Before installation, verify:
- Finished sink or countertop height
- Required knee and toe clearance
- Clear floor space
- Faucet location and operation
- Plumbing protection
- Mounting and structural support
- Relationship to nearby fixtures
- Manufacturer installation requirements
A final field inspection can help identify dimensional or installation issues before the bathroom is placed into regular service.
Common Design Mistakes to Avoid
Several seemingly minor decisions can interfere with accessible sink use. Installing a standard vanity beneath an otherwise accessible basin, for example, may eliminate the required knee clearance.
Other problems can result from improperly positioned faucets, exposed unprotected plumbing, insufficient floor space, or changes in finished floor elevation.
The best way to avoid these issues is to coordinate architectural, plumbing, and accessibility requirements before construction begins.
Consider Applicable Local Requirements
The ADA Standards are an important reference for covered facilities, but they are not the only requirements that may apply to a building project. State and local building codes, plumbing regulations, accessibility laws, and project-specific standards can introduce additional requirements.
Project teams should consult the current regulations applicable to the building’s location and intended use. Where requirements differ, qualified design and code professionals can help determine which provisions apply.
Final Thoughts
Selecting an accessible sink for a building project requires more than choosing a fixture described as compliant. Height, knee clearance, floor space, faucet operation, plumbing protection, structural support, and surrounding layout all contribute to accessibility.
By addressing these details during design and verifying them during installation, project teams can create bathroom facilities that are practical, safe, and consistent with applicable accessibility requirements. Early coordination between architects, contractors, plumbers, and other professionals can also reduce costly changes later in the construction process.
